

Joe had wanted to do something to the cabinets from the very beginning. I was very hesitant from the beginning. Finally, after many talks and visits to different blogs, I relented.
We both wanted to paint the cabinets white, I wanted to apply a glaze to them that I found on my favorite blog, All Things Thrifty. Brooke at All Things Thrifty does AMAZING things with furniture and her house and constantly inspires me to be more crafty. She also glazes EVERYTHING under the sun. Back to the cabinets though, we though the white cabinets with the black glaze would be a nice touch to the kitchen, would make it seem larger, and would be more our style.
This was my first glazing project so we followed Brooke's glazing steps pretty much spot on, you can find the instructions here. The entire process was not overly complicated, just time consuming.
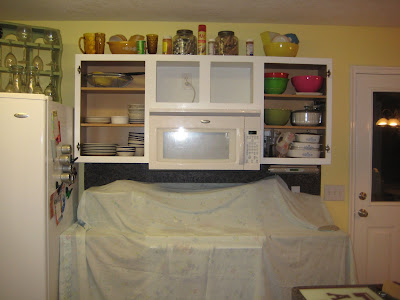
First step was to paint the cabinets. Because they are inside we could not spray paint (like Brooke recommends). We first removed the doors and drawers then applied a primer then several coats of a high gloss enamel. Joe did this as he is much more detail oriented than I am. With the painting complete, and the cabinets stark white, I applied the glaze.
 The hardest part of glazing was actually buying the glaze. We could not figure out which product was correct as Lowes had just changed their paint labels (so I could not compare it to the products shown on All Things Thrifty), and unfortunately, the Lowes employee did not really understand what we were looking for (NOTE: this experience was very different than most Lowes shopping trips because typically I receives TONS of great info from the Lowes employees).
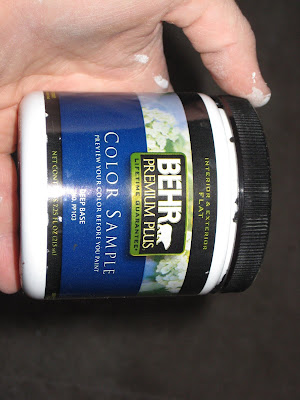
Once we got the correct product (you don't need much, we got a quart and used less than 1/4 of it), it was torture trying to explain that we needed the employee to add the black color to the glaze. The guy pretty much said there was no way to do it without pouring out a quarter of the can of glaze. Instead, we bought the quart and bought one of the tiny color sampler paints in black and mixed the two at the house.
Brooke had mentioned getting the glaze tinted was a problem for her as well so I imagine this is a universal issue and if you want to glaze something you should plan to get the two separate products and mix it yourself.
With the glaze mixed, I applied it to the cabinets. This was my first glazing project ever (heck of a project to start on right?!?!), so there are some errors but overall I think it turned out nice.
After the glaze dried (and we got some time on our hands), we applied a 4 coats of a polycrylic to protect the paint job.

We finished off the project with some glass knobs off ebay (they were a steal at only $2.50 a piece!). I think they really make the project come together.

Once final note, we removed the small cabinets above the stove as well. Joe installed 2 wine glass holders from Target here and presto, the finished project!


After doing this process I know I will be glazing a LOT more in the future... in fact 2 weekends ago I bought a furniture piece for my room that will be getting the glaze treatment very soon.


Woot Woot!!! Those look amazing!
ReplyDelete