Well its been a week since I posted my to do list so that I would shame myself into getting to work. A few of the items have been scratched off but I think we added a lot more to the list than scratched off. I will not panic though and I will get this stuff done (Team
Dashboard, you may just get taken up on your offer soon!).
I have taken a few liberties with my scratch outs, italicizing, etc. I'm a glass half full type of gal!
Overall Nursery
- Add woodwork to nursery (Mr. Whimsy) - beadboard has been painted and nails have been purchased so in honor of this, I am going to mark this item with italics... as in its about 25% complete
- Schedule deep cleaning for carpet - (Lindsey) - waiting on painting and wood work to be complete. And nursery to be cleaned out (refer to "added this week" list)
Furniture, Decoration and Organization in Nursery and House (baby specific items)
- Redo furniture - dresser x 2, rocking chair, glider - paint portion (Mr. Whimsy) - nada... I take that back, we purchased primer and paint but still, pretty much not much has been done in this area
- Redo furniture - dresser x 2, rocking chair, glider - glaze portion (Lindsey) - nada
- Get/redo crib (Mr. Whimsy and Lindsey) - I talked with the Rowdy Ramdsdens and just have to schedule a time for pick up... but other than that, no change in status
- Set up nursery (Mr. Whimsy for muscles, Lindsey for "oversight")
- Hang up/organize baby clothes, blankets, figure out storage for baby stuff (Lindsey) - kind of done. I have used every baby coat hanger I have but a lot of the folded items will go into the dresser... which has a nada status currently
- Ask Denise (Rowdy Ramsdens) about organza rosette fabric for lamp shades/curtains (Lindsey) - Done. I am not going to get the fabric (but this resulted in a new item added to the list). Items that get taken off the list are by far the easiest to accomplish!
- Clean out cabinet in craft room to make room for things in Baby Whimsy's closet (Lindsey) - about 50% complete
- Get pantry organized to make room for all new baby stuff (Lindsey) - zilch
Random Must Do's-
- Mow the lawn (Mr. Whimsy) - grass/weeds are growing higher every day!
- Mail belated graduation/baby/wedding gifts (Lindsey) - sorry folks, your gifts will be in the mail soon...
Not Mandatory but Hope To Do:
- Fix up onsies y (Lindsey) - I wish!
- Add doilie "M" to painted canvas (Lindsey) - not yet
- Doily light shade (Lindsey, Mr. Whimsy for any electrical know how) - project changed to doily lanterns (see added on this week list)
- Deal with excess garden produce - steam, puree and freeze zucchini for baby food (Lindsey) - Instead of making baby food I made dinner :) and passed some out to family/friends
- Art with bird and Bible verse (Lindsey) - not yet
- Sleep (Lindsey) - I am not sure 2 hour cat naps at night are worthy of a scratch off
And added on this week:
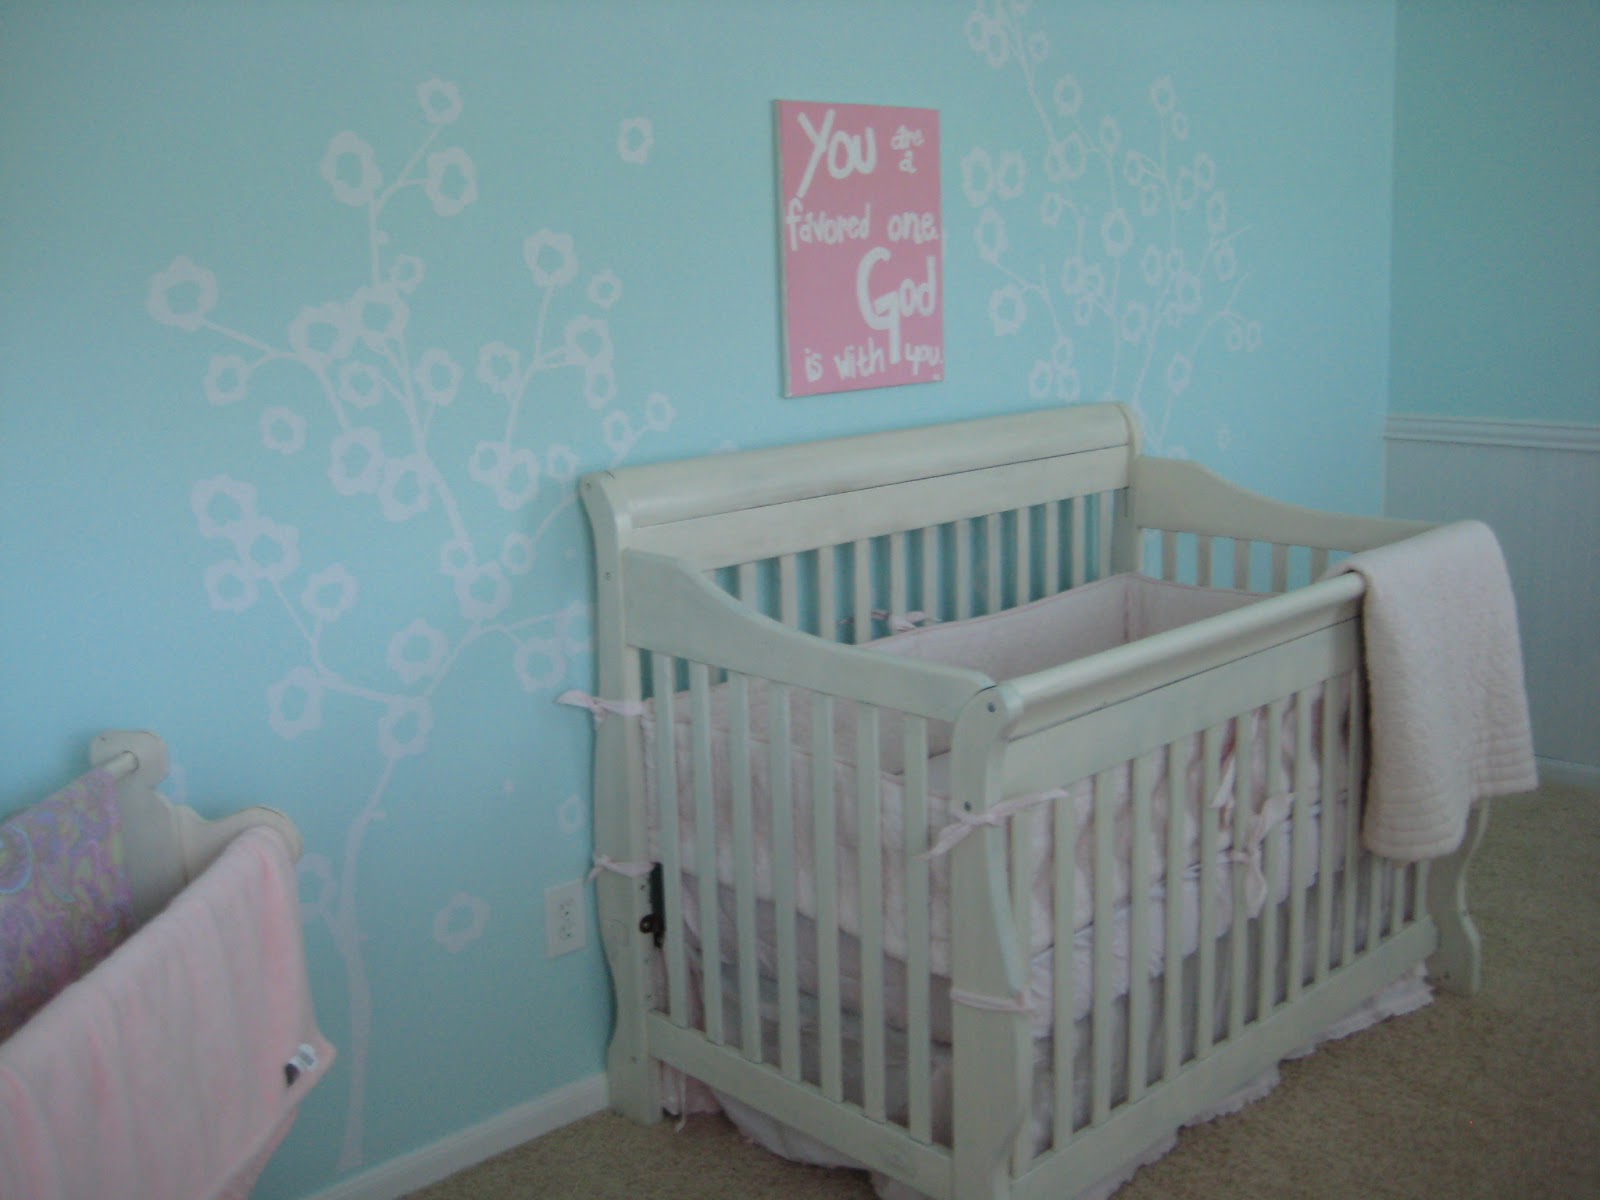
- Paint tree in corner of room (Mr. Whimsy) - Mr. Whimsy said we needed to do something big and fun to the wall so I found a whimsical (of course) looking tree and we are going to use a projector (borrowed from the library) to sketch it on the wall with some kind of shimmery paint. Pretty excited about this one!
- Attempt to make button lampshade (Lindsey)- I have a very cool old lamp that I was going to make a doily lampshade for but then I saw a button one that is (of course) more work but oh so fun looking. Hopefully I have enough white an pearl buttons to complete this one
- Make 3 doily lanterns to hang in corner of room (instead of bird houses and light shade (Lindsey) - this should be a quasi easy and fun project but it will be messy so I will probably save it for the weekend
- Do something with the furniture and stuff that is in the nursery (Lindsey and Mr. Whimsy( - right now the center of the room is piled with the old furniture and baby gift we have gotten... this mess has to be cleaned out soon!




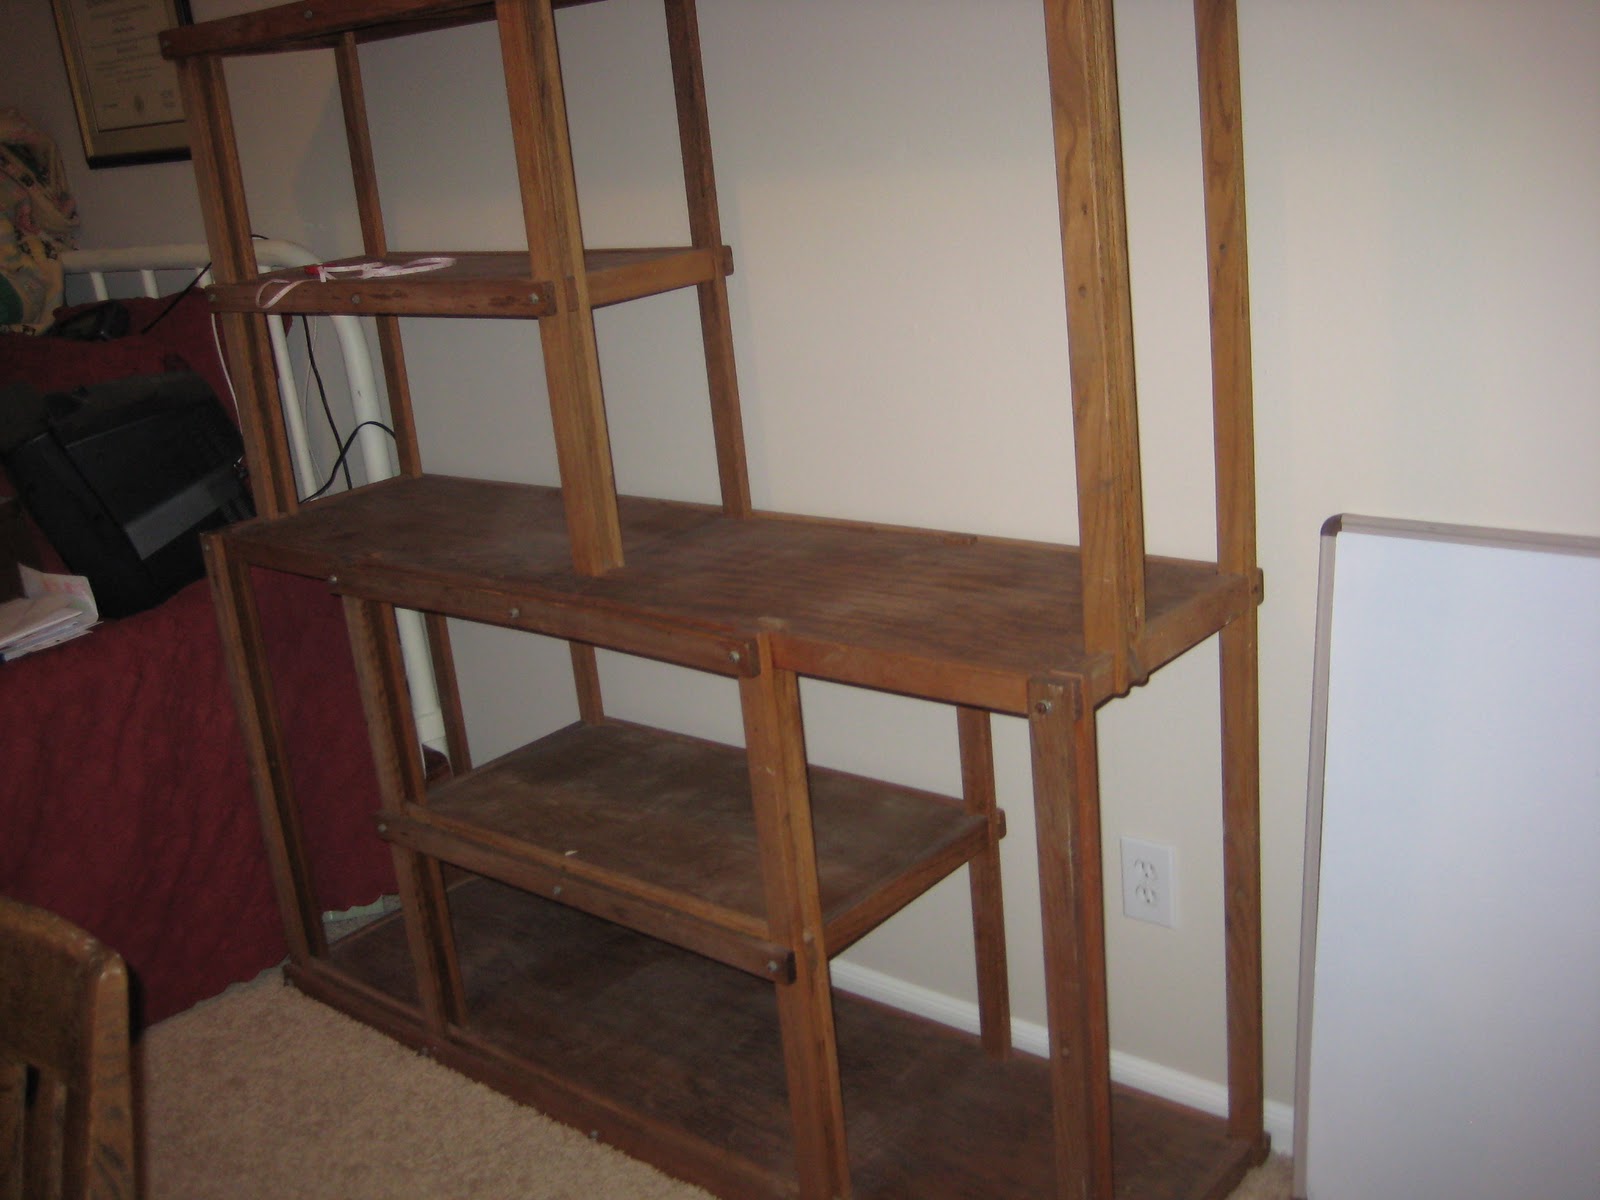


 One shelf down, (err, up), one to go!


 7. One of my chickens mysteriously died. In preparation for Aprilfest this year we started building a big bonfire with tree and shrub branches. Due to the burn ban, the bonfire hasn't happened yet. Meanwhile, we noticed that the dogs moved the branches around to make a tunnel going through the pile. During the day the dogs lay in here, their dog house, or in their kiddie pool. When the dogs aren't in their tunnel the chickens take it over. When I got home this past weekend Joe said something must have died in the pile because it was stinking. I jokingly said it was a chicken. Sadly, I found I was correct when I went to count my chickens and found one missing. We shortly spotted the chicken in the pile and got it out. When examining it, it was obvious it had been dead for a couple days but it showed no outward signs of injury. Not sure what happened but maybe a snake bit it? Any ideas?

 I was deciding on a color and am a little tired of the dark red/maroon I used a bunch when I first moved in. Instead, I am really loving yellow, pink and green right now... this time yellow won out.
 I've already gotten use out of the table and know I'll be using it tons more this summer.

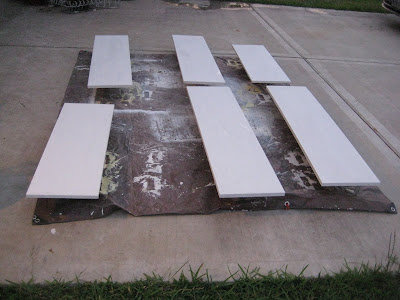
 I put 2 coats of polycryic (probably should have done three through), then Joe had some spare time and hung the shelves in the closet.


 I have been looking for a piece like this will all the design and carvings to try out my new glazing process. I got this technique from


 On the big, flat areas I used a much bigger brush of course.


 The hardest part of glazing was actually buying the glaze. We could not figure out which product was correct as Lowes had just changed their paint labels (so I could not compare it to the products shown on